11/26/19

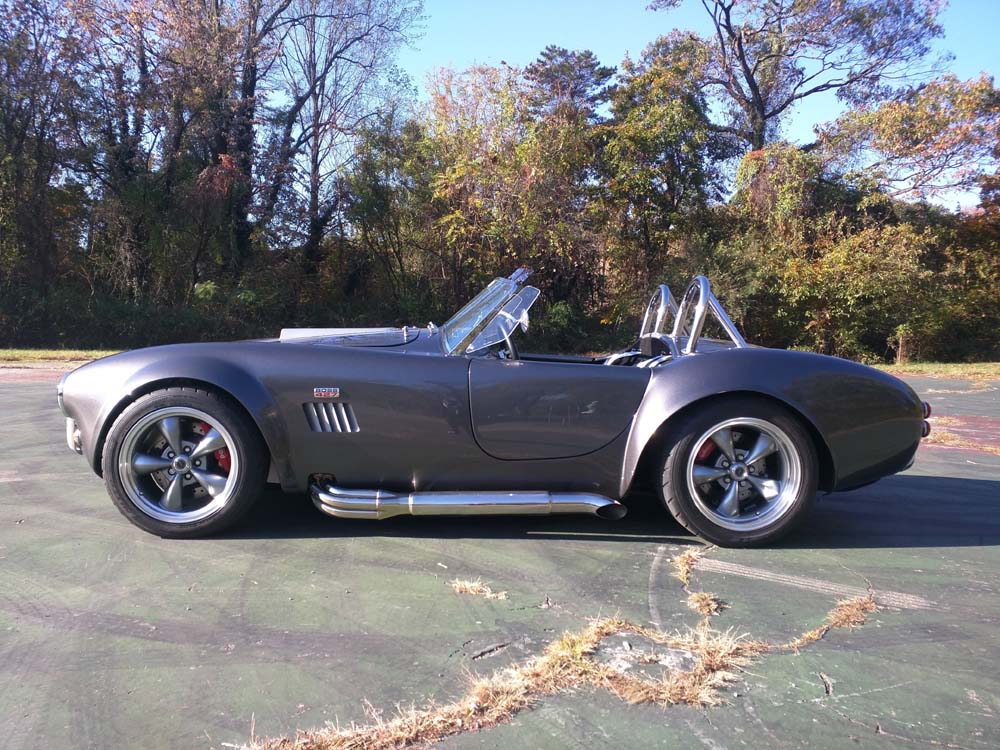
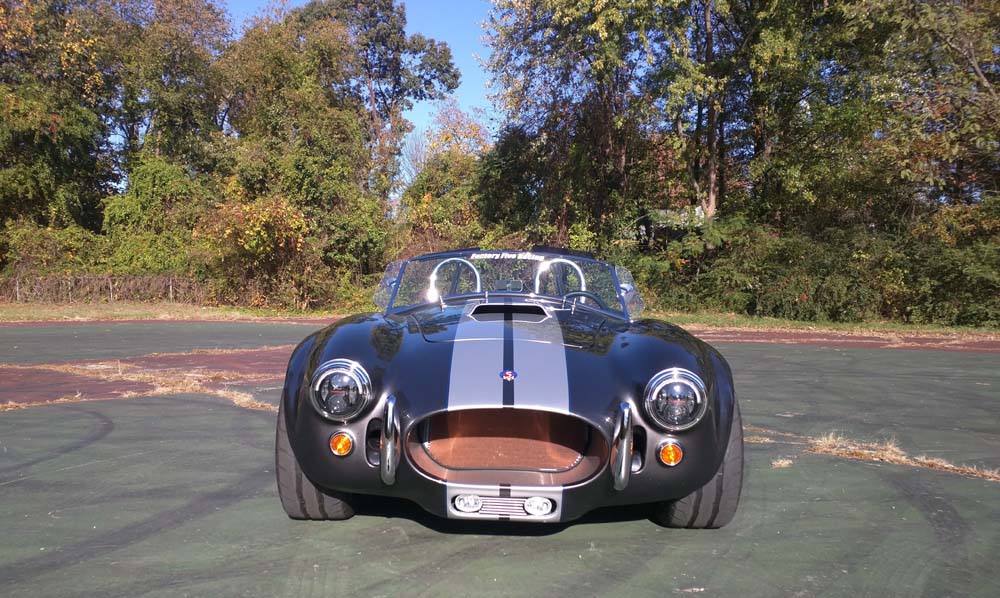
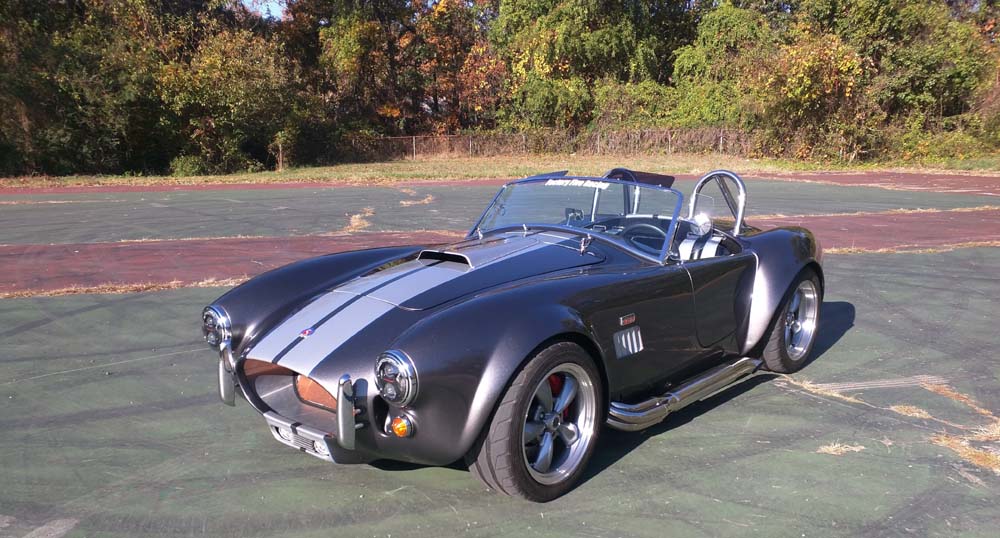
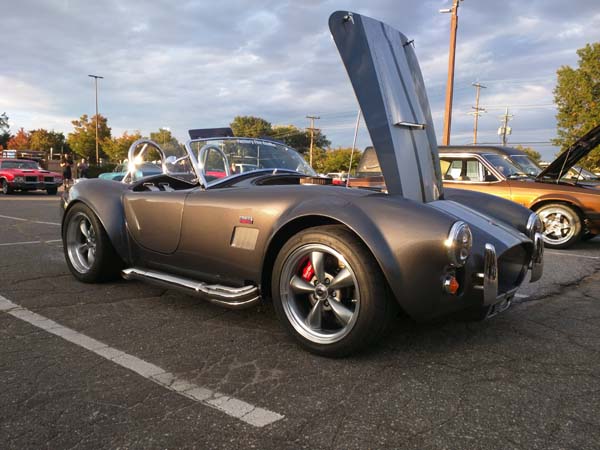
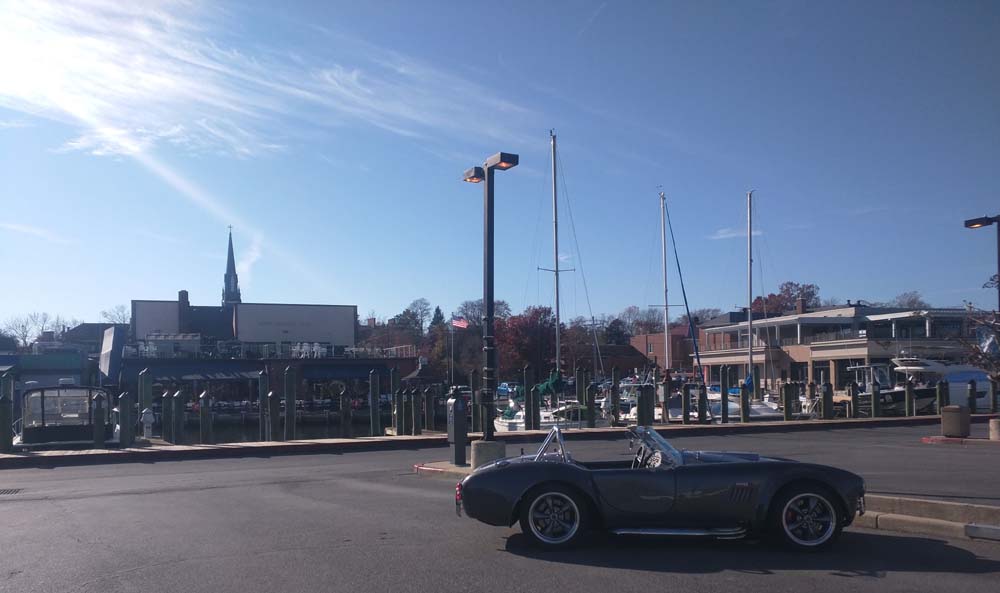
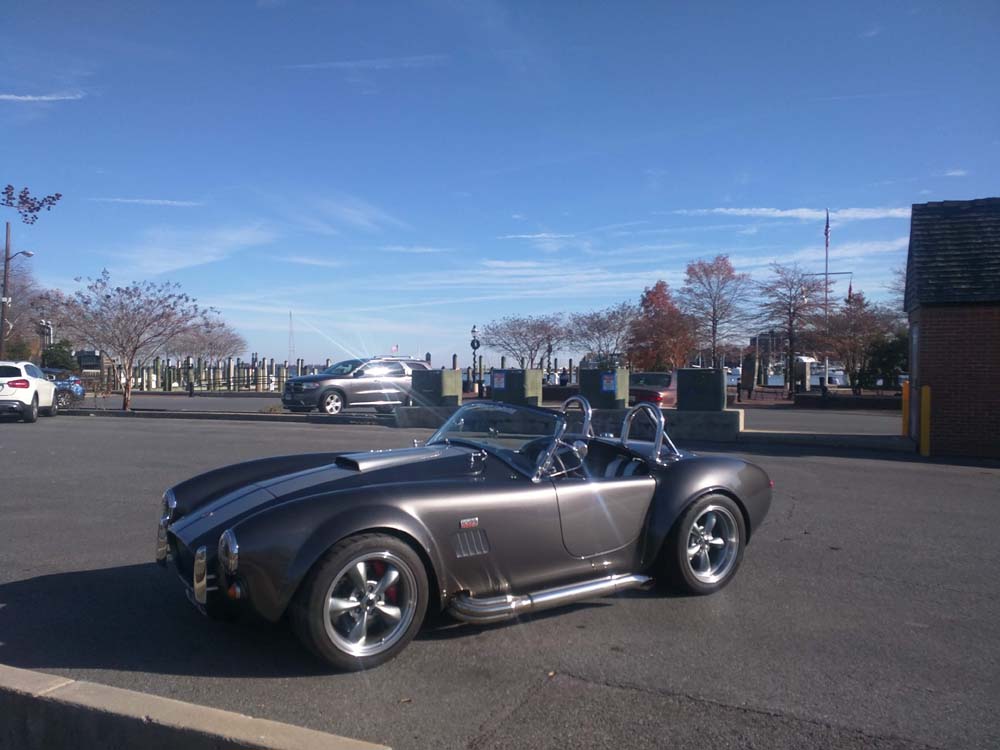
Continuing to drive the Boss 427 and stretching her legs, getting farther and farther from home. Did a 50 mile loop from my house to the Annapolis Docks, stopped at a local place for lunch with a friend, then back home. No surprises from this trip, so she’s doing really well.

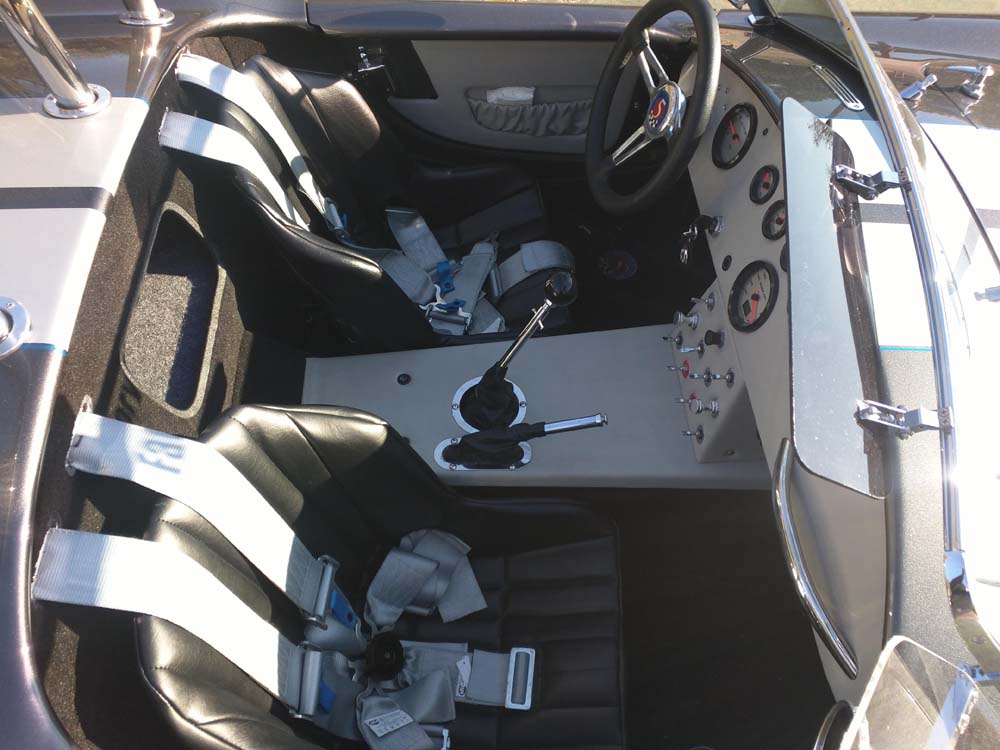
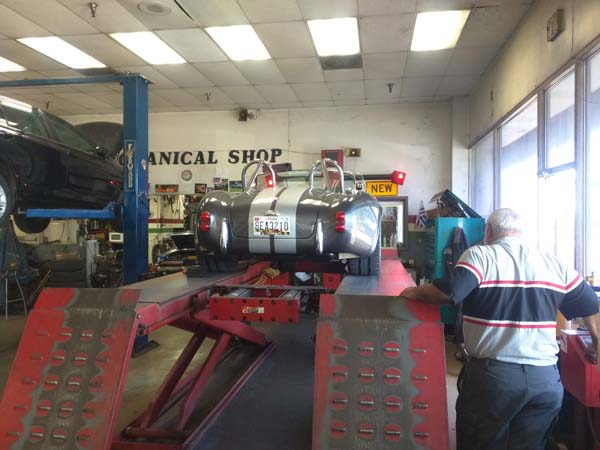
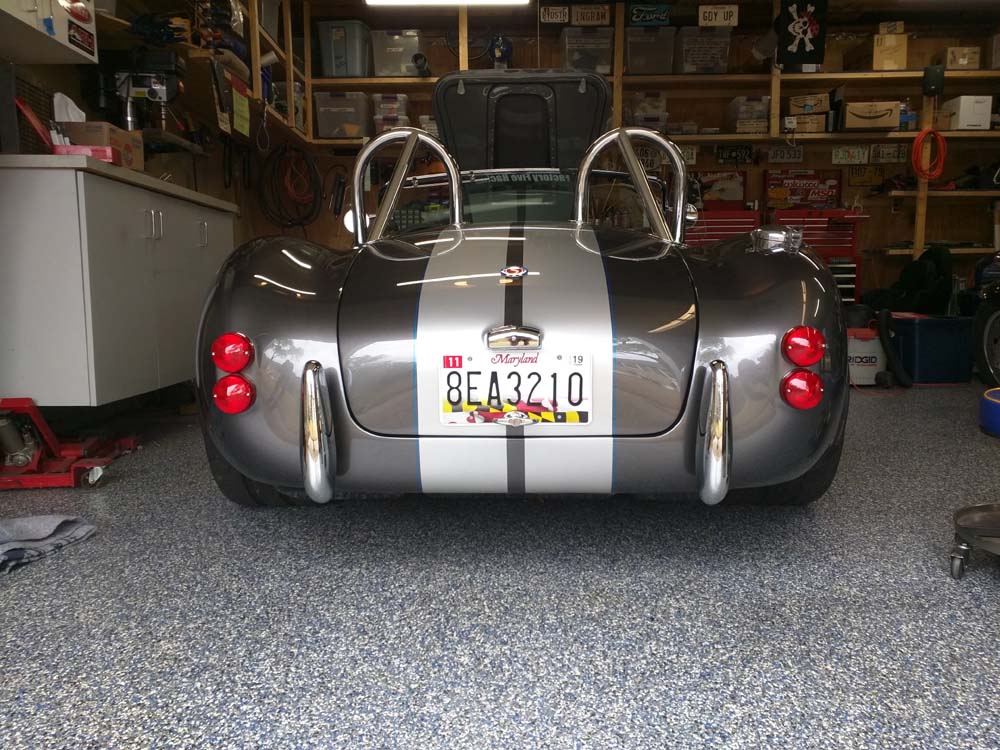
A few small items I’ve had: When I was driving a few days ago, I noticed a high freq rattle that happened when I was accelerating. Later it got worse and was really rattling when I hit a bump. Got home, did some investigating, found 2 roll bar bolts that were loose. Tightened em up and no more issue.

My seatbelt buckle was rattling, found the camlock knob was coming loose. tightened up, no problem.

When I got my first full tank of gas, the next morning, I had some fuel on the floor. Chased it down to a loose lockring on the tank for the level sender. Knocked it a bit tightwer and seems to be OK.

Thats all I’ve come up with so far. She continues to amaze me.

Thanks for reading…

11/4/2019

Few things have happened in the last week or so.

I have fixed a small coolant leak at the heater select valve, and replaced the power steering pump with a unit that is setup and dyno’d for flow and pressure to match the Fox Mustang steering rack. Also has a reservoir mounted right to the side of the pump for excellent fluid supply. Quite different, and better, than what I had.

And the steering difference is wonderful. Before it was darty and hunted, now its smooth and predictable. This morning, I got a laser alignment done at the Bay Area Service Center in Glen Burnie. Quincy said the car was really close, and he just had to do some fine tuning. When he was done, I took it up on the interstate and ripped it up to about 75-80 mph and its as perfect as I can ask for. Predictable, smooth, accurate and easy. Just like a good racecar should be.

Took some pictures in the early morning light…

This image has an empty alt attribute; its file name is IMG_20191104_091702.jpg

This image has an empty alt attribute; its file name is IMG_20191104_091641.jpg

This image has an empty alt attribute; its file name is IMG_20191104_091650.jpg
This image has an empty alt attribute; its file name is IMG_20191104_091741.jpg
This image has an empty alt attribute; its file name is IMG_20191104_091833.jpg

This image has an empty alt attribute; its file name is IMG_20191104_091821.jpg

Very, very close to being what I can call done, or “graduated”. This is where she officially goes from a kit to being a real, live driving and enjoyable car.

I’m gonna miss building her, but now I start learning about what I’ve built and maybe some fine tuning to make it perfect.

Thanks for reading…

10/14/2019

So a lot has happened in the last week. Got The Boss on the road, temporarily, from the MD MVA. Started putting a few miles on her. Got her up on the Interstate for the first time, up to 60 mph and all felt really good.

Took a lady friend of mine with me to a local Cruise In and had a good time. She helped install the last piece to really finish this car… my BOSS 427 badges that I had custom made by Billet Badges. I bought these before I ever ordered the kit. So it was a nice touch to put em on before heading out to show the car.

Got some nice attention, but people dont understand that its a new car, built from the ground up, not some kit placed on top of another car. Thats OK… its mine and I know I built it.

Made an appointment and got the car over to Auto Italia in Rockville. They have some knowledge of these cars… thats why I went so far to see them vs using a local place that had no idea. They took it for a test drive and did an underneath inspection… all looks good. It was nice to see my car up on a lift where I could get underneath it.

On the rack at Auto Italia, Rockville, MD

She passed inspection with no issues. So now its back to the MVA to get off the 30 day tags. Still have a bit more work to do, so continue to stay tuned!

10-8-2019

Spent the morning at the Maryland MVA. Got a VIN number assigned and plate attached, paid my taxes (just like for a new car), got a title coming in the mail and finally, my 30 day tags. 30 days is for the MD State Safety Inspection.

After I get that done, I’ll have the regular 2 year tags and be good to go.

10/6/2019

Sorry I’ve been slack in updating every little detail. There’s just so much little stuff thats not very informative, nor impressive.

I replaced the alternator switch with a resettable 150amp breaker. Starting installing windshield wipers. Installed the Factory 5 badges on the nose and trunk. Lots of other little stuff.

Started her up today and backed her out of the garage. Took some pics. Monday evening she gets loaded on the trailer and Tuesday am we go to the MVA. Working on a VIN number, taxes, title and temp tags. Already have insurance through Midwest Classic Car.

Enough yakking…

Thank you again for being here.

9/30/19

Worked on the Boss all weekend. Got the rear splash panels all installed (4 of em) and wheel wells totally undercoated, 2 coats.

Worked a lot on the rear bumpers. I knew these would be a challenge. Here’s what I ended up with.

I had 2 threaded rods that screw into welded nuts inside the bumper. Access to the other ends of these rods are very limited, and the lower, you cant even get a wrench on it.

If you think about it, its a real head scratcher. How do you mount them when all you have are 2 holes, and the access is really bad?

I decided to install the top bolt, the one with good access since I put in a much larger fuel pump access panel. It would have its threaded rod, aluminum tube cover and nylon bushings all installed. I just adjusted the length so it came through the chassis by about 1/2″

Top of the fuel tank, looking aft at the passengers upper rear bumper mount.

So I was able to loosely assemble this part. Now I had the bottom. I installed a short 3/8″ bolt with a coupling nut. This made for a female thread for the lower mount to slip into. As I slid it into place, I installed 2 nuts with their washers. I screwed the rod in as far as it would go.

Then with the bumper in place, I reversed the rod, screwing it out of the coupling nut and into the bumper. It only required about 1/2″ to bottom out, and the coupling nut had something like 1.5 “. When it was bottomed out, I spearated the nuts and used them to loke the rod into the coupling nut and to lock the aluminum tube up against the bumper.

I think it looks pretty good. Tomorrow, I’ll do the left side.

9/27/19

Got a few things done and a few more pics.

I’m waiting on a backordered exhaust part, but I gotta keep moving, even if it means coming back and redoing.

I have installed the passenger sidepipe with a .25″ wedge (this angled wedge moves the final placement of the exhaust tip for alignment). Looks perfect. Nice testament to the Gas-N exhaust products… Headers, sidepipes and very little adjustment needed.

Got the front splashguards installed and installed / torqued the front wheels. When I get the backordered .25″ wedge for the drivers side, I’ll have to disassemble and work that.

Onward…. You see the back end is now on jackstands and the rear wheels are off. Not too much to do back here except fit, and install the rear splash guards (2 per wheelwell… I have front pieces made by Whitby’s). I am going to undercoat the entire wheelwell once everything is installed… a little different from the fronts.

Had some fun with the sunvisors. To keep it short, did a modified mounting by using square nuts in the frame channel instead of screws into the frame. Made my own correct length #6 screws and it all went together beautifully.

ACE 3/8″ long screws, my .250″ long screws and the F5 3mm frame mount screws.
Depth check of my modified screws. You can see the reflection of the tip.. it is NOT touching.
Final assembly.
Final product. Visors, Windwings and Breeze mirrors. Lot of stuff hanging off the windshield… but nothing is anywhere near touching the glass.

Tomorrow, lots more work in the rear wheel wells. Still looking to go legal Oct 8.

Thanks for reading….

9/25/19

More small work being done until some backordered parts show up…

Installed the door check straps that I vinegarooned 2 weeks ago…

Just installed with 3/16 pop rivets, but I may replace with some better looking stainless bolts later.

Installed the rear tag light / tag holder. I replaced the reg bulbs with LEDs, direct fit and better light. I did not do the mod that many others have done to make the fit better… I may do it later or simply notch the tag to fit. For now, it’s as is.

That butt!

Installed the Factory 5 wind wings and Breeze side mirrors. Nice stuff, nice hardware, mirrors look great. I can see having to carry a few tools in case these come loose out on the road.

I have the center rearview mirror, but I’m not crazy about it and need to review my options before I drill into the body to install.

Built the sunvisors, but cant install yet because I need some hardware. Stop at ACE on the way home and finish those then.

Hopefully more tomorrow….

9/24/19

Been slowly working at some not-so-glamorous stuff.

Finally got 2 seats and 2 seat covers and the proper floor mounts. Got the mounts drilled and bolted up to the seats at a good angle, then the mounts bolted to the floor. Doing that required a bit of thinking, and I ended up drilling access holes in the seats so I could get a socket on the floor bolts.

I probably have about 25 hours labor in mounting seats, between the hibacks and now these.

Here’s a pic of the bare Kirkey 17″ wide 55V loback seat, with my seat heaters taped in place. On the bottom pan, you can see the 4 holes I drilled to be able to access the floor bolts for mounting.

With the seats finally installed. Looks pretty good, but I’m still not 100% crazy about em.

They are pretty comfy, and I like the way the roll bars really stand out now. Before, they were totally hidden behind the seats.

Got my Mike Everson / ReplicaParts roll bar trim rings installed. These are made just for the thicker Breeze bars and are beautiful pieces. Made me nervous about pre-drilling holes in the painted body, tho…

Spent more time trimming and taping down some loose carpet, adjusting the passenger shoulder belts, finish torquing the mounting bolts for the roll bars. The end of the angle bar is very close to the inside of the body, so a thru bolt wouldnt work. Had to drill and tap thru one side of the bar, then used a 3/8 gr8 bolt to secure it. It isnt going anywhere.

More detail work tomorrow…

Thanks for following.

Few things have happened

I have fixed a small coolant leak at the heater select valve, and replaced the power steering pump with a unit that is setup and dyno’d for flow and pressure to match the Fox Mustang steering rack. Also has a reservoir mounted right to the side of the pump for excellent fluid supply.

威而鋼的副作用

我治療背痛已經有20年了,我見過許多因為服用高劑量威而鋼後出現肌肉酸痛需要到醫院接受治療的陽痿患者,各種年齡和不同嚴重程度。

  • 壯陽藥的選擇技巧

樂威壯的效果

即使兩次服用的劑量合起來不超過20mg的安全劑量,大部分陽痿患者每次服用 樂威壯都會想到服用10毫克效果夠不夠?需不需要增加到20毫克?吃最大劑量會不會損害人體健康?